
The carob (Ceratonia siliqua) is a flowering evergreen tree or shrub in the Caesalpinioideae sub-family of the legume family, Fabaceae.
It is widely cultivated for its edible pods, and as an ornamental tree in gardens and landscapes.
The carob tree is native to the Mediterranean region and the Middle East.
The word “carob” comes from Middle French carobe (modern French caroube), which borrowed it from Arabic خَرُّوبٌ (kharrūb, “locust bean pod”), which ultimately borrowed it perhaps from Akkadian language kharubu or Aramaic kharubha, or related to Hebrew haruv.
Ceratonia siliqua, the scientific name of the carob tree, derives from the Greek kerátiοn κεράτιον “fruit of the carob” (from keras κέρας “horn”), and Latin siliqua “pod, carob”.
In English, it is also known as “St. John’s bread” and “locust tree” (not to be confused with African locust bean).
The latter designation also applies to several other trees from the same family.
– extract from Wikipedia page for carob.

Inspect them and make sure they’ve not got signs of insects, or damage.
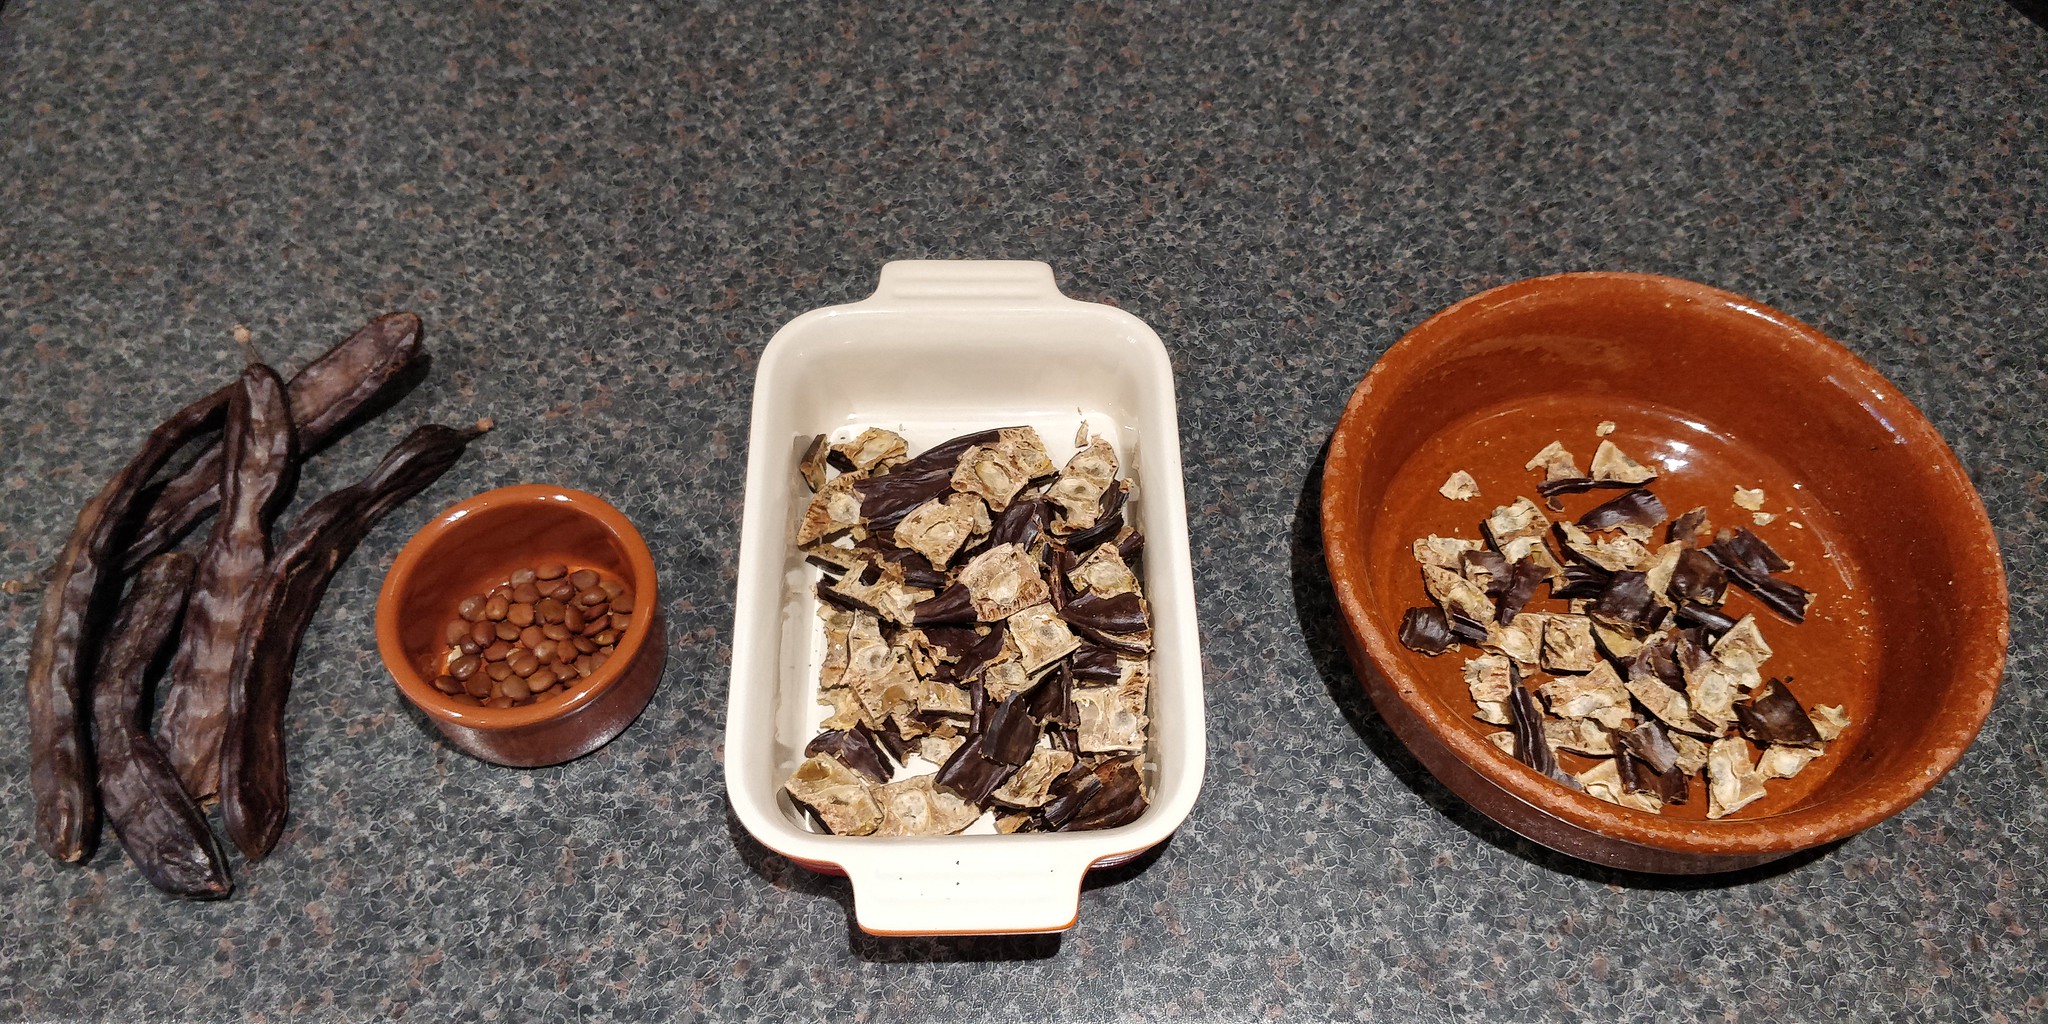
Left-to-right:
– Raw carob picked from the tree
– Remove remove the pod seeds. I used a small knife and cut them open, then removed the seeds.
– Cut/break the pods into small pieces.
– Sieve the carob pod pieces to remove any things that shouldn’t be there.(Bugs, leaves, etc.
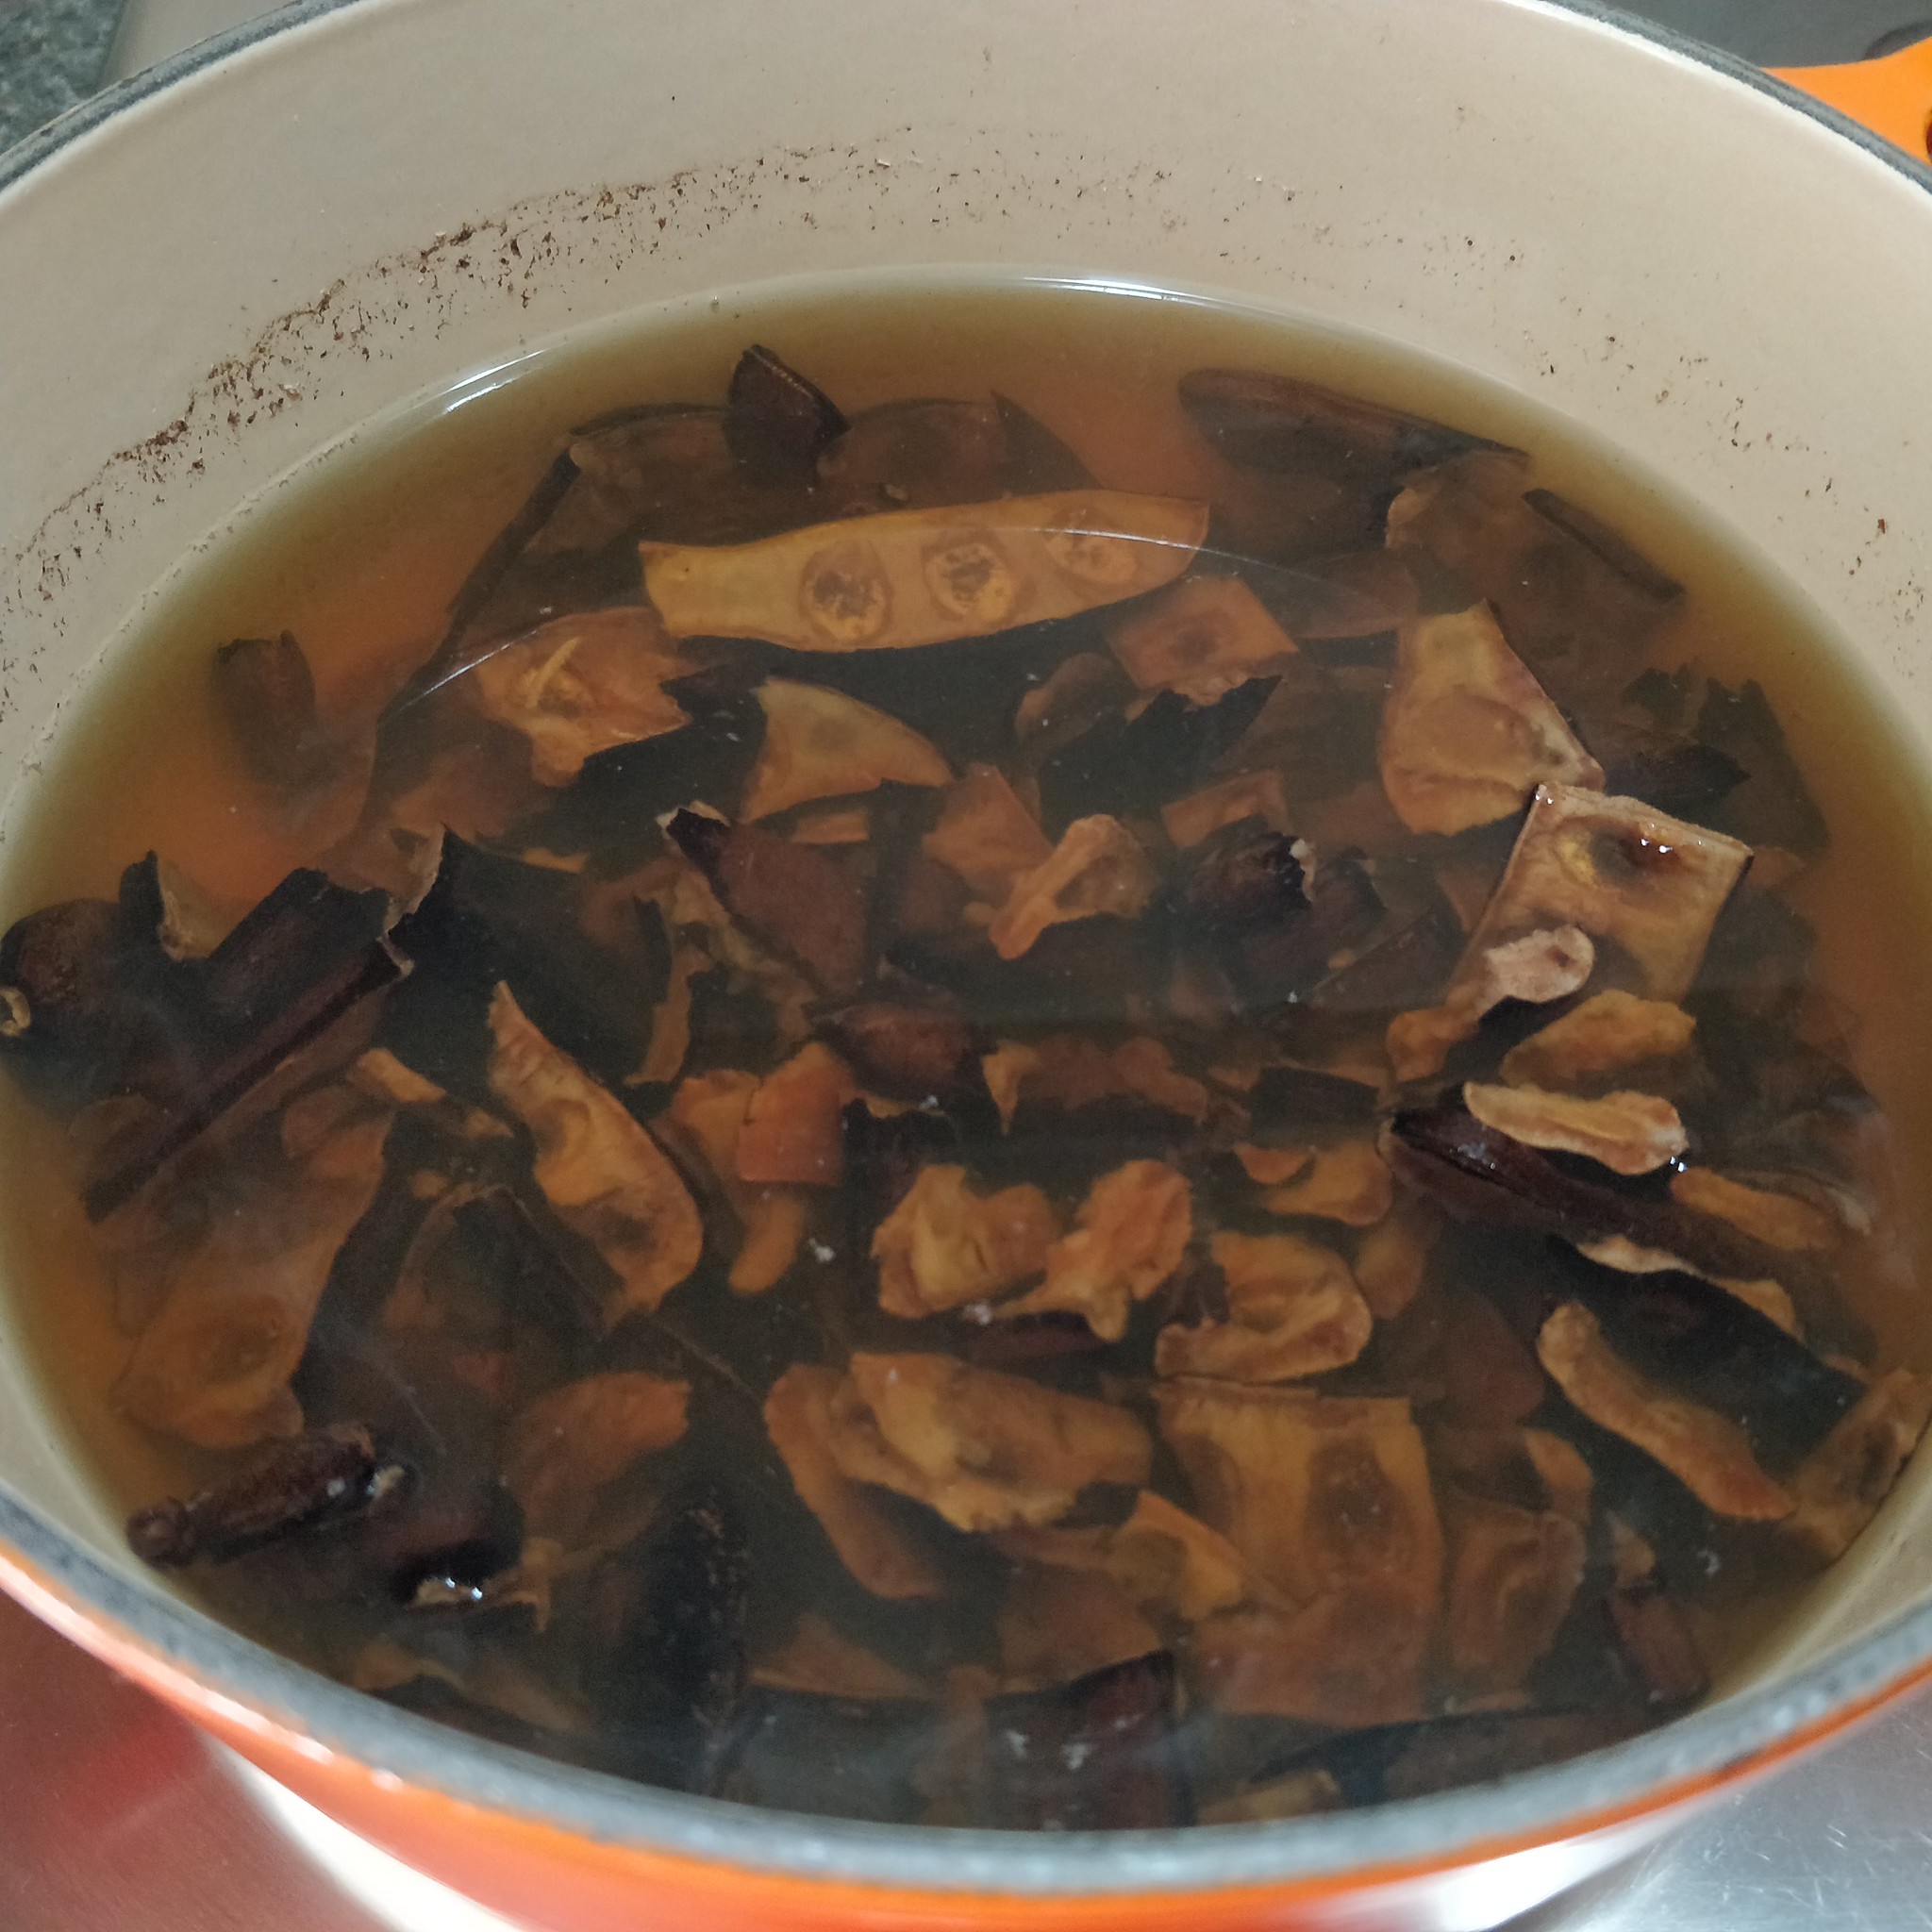
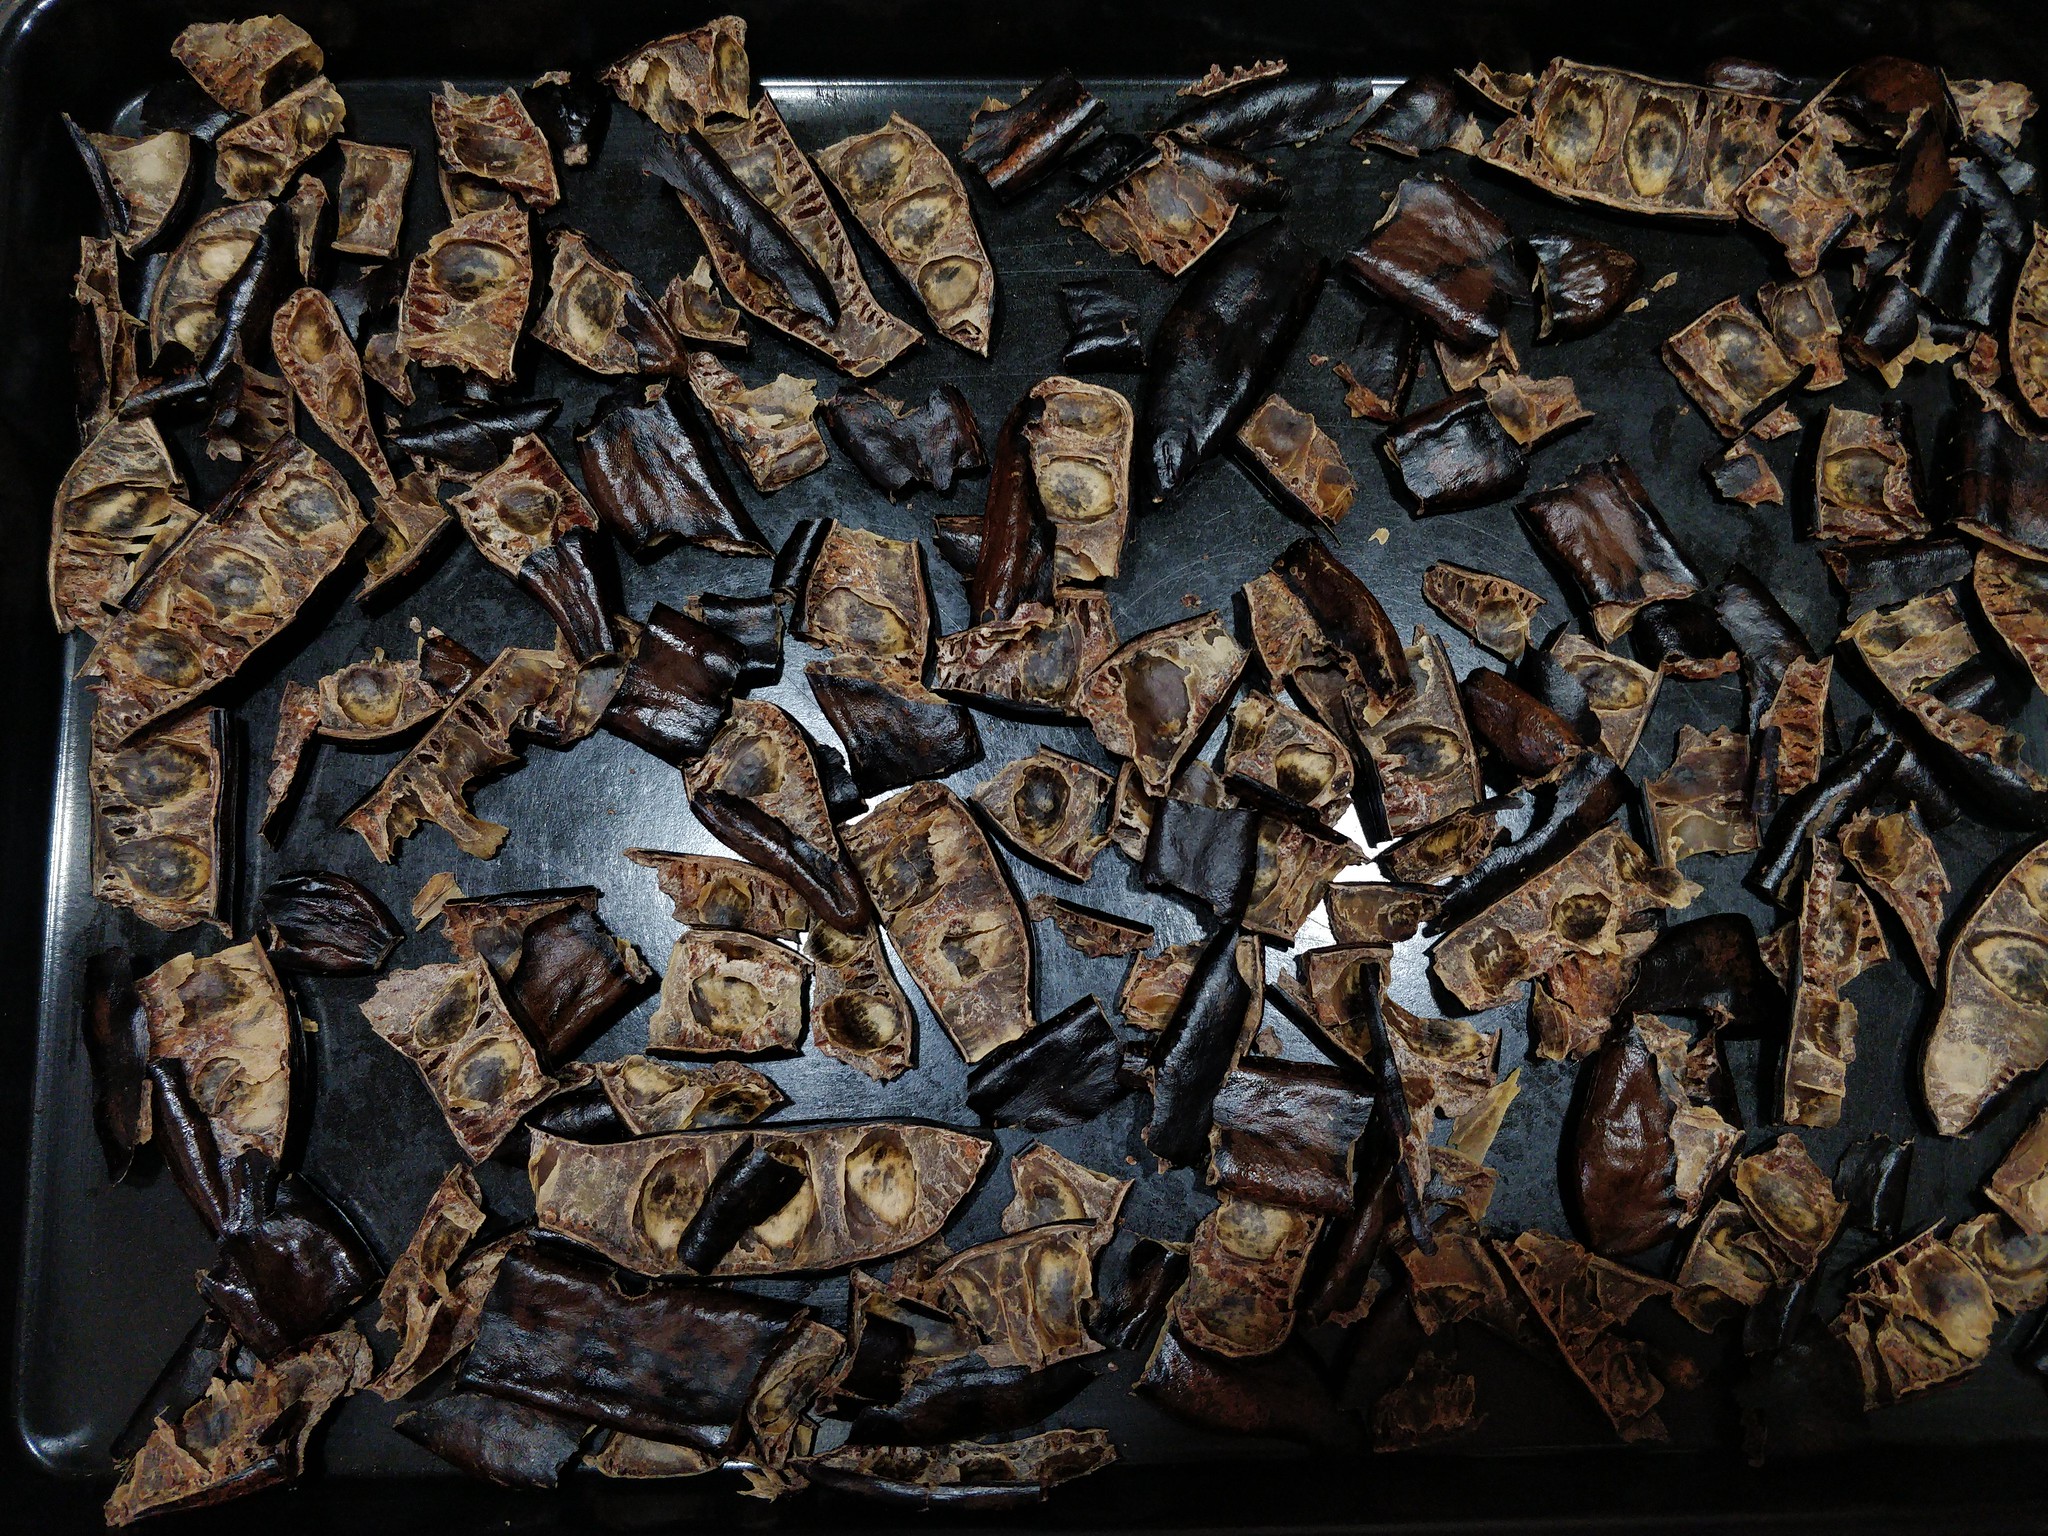
Once boiled, remove the pods from the pot, and put them onto a baking tray.
Put them into the oven for 10-12 hours at 50-60 deg C.
Check them regularly, give them a shake to make sure they don’t stick.
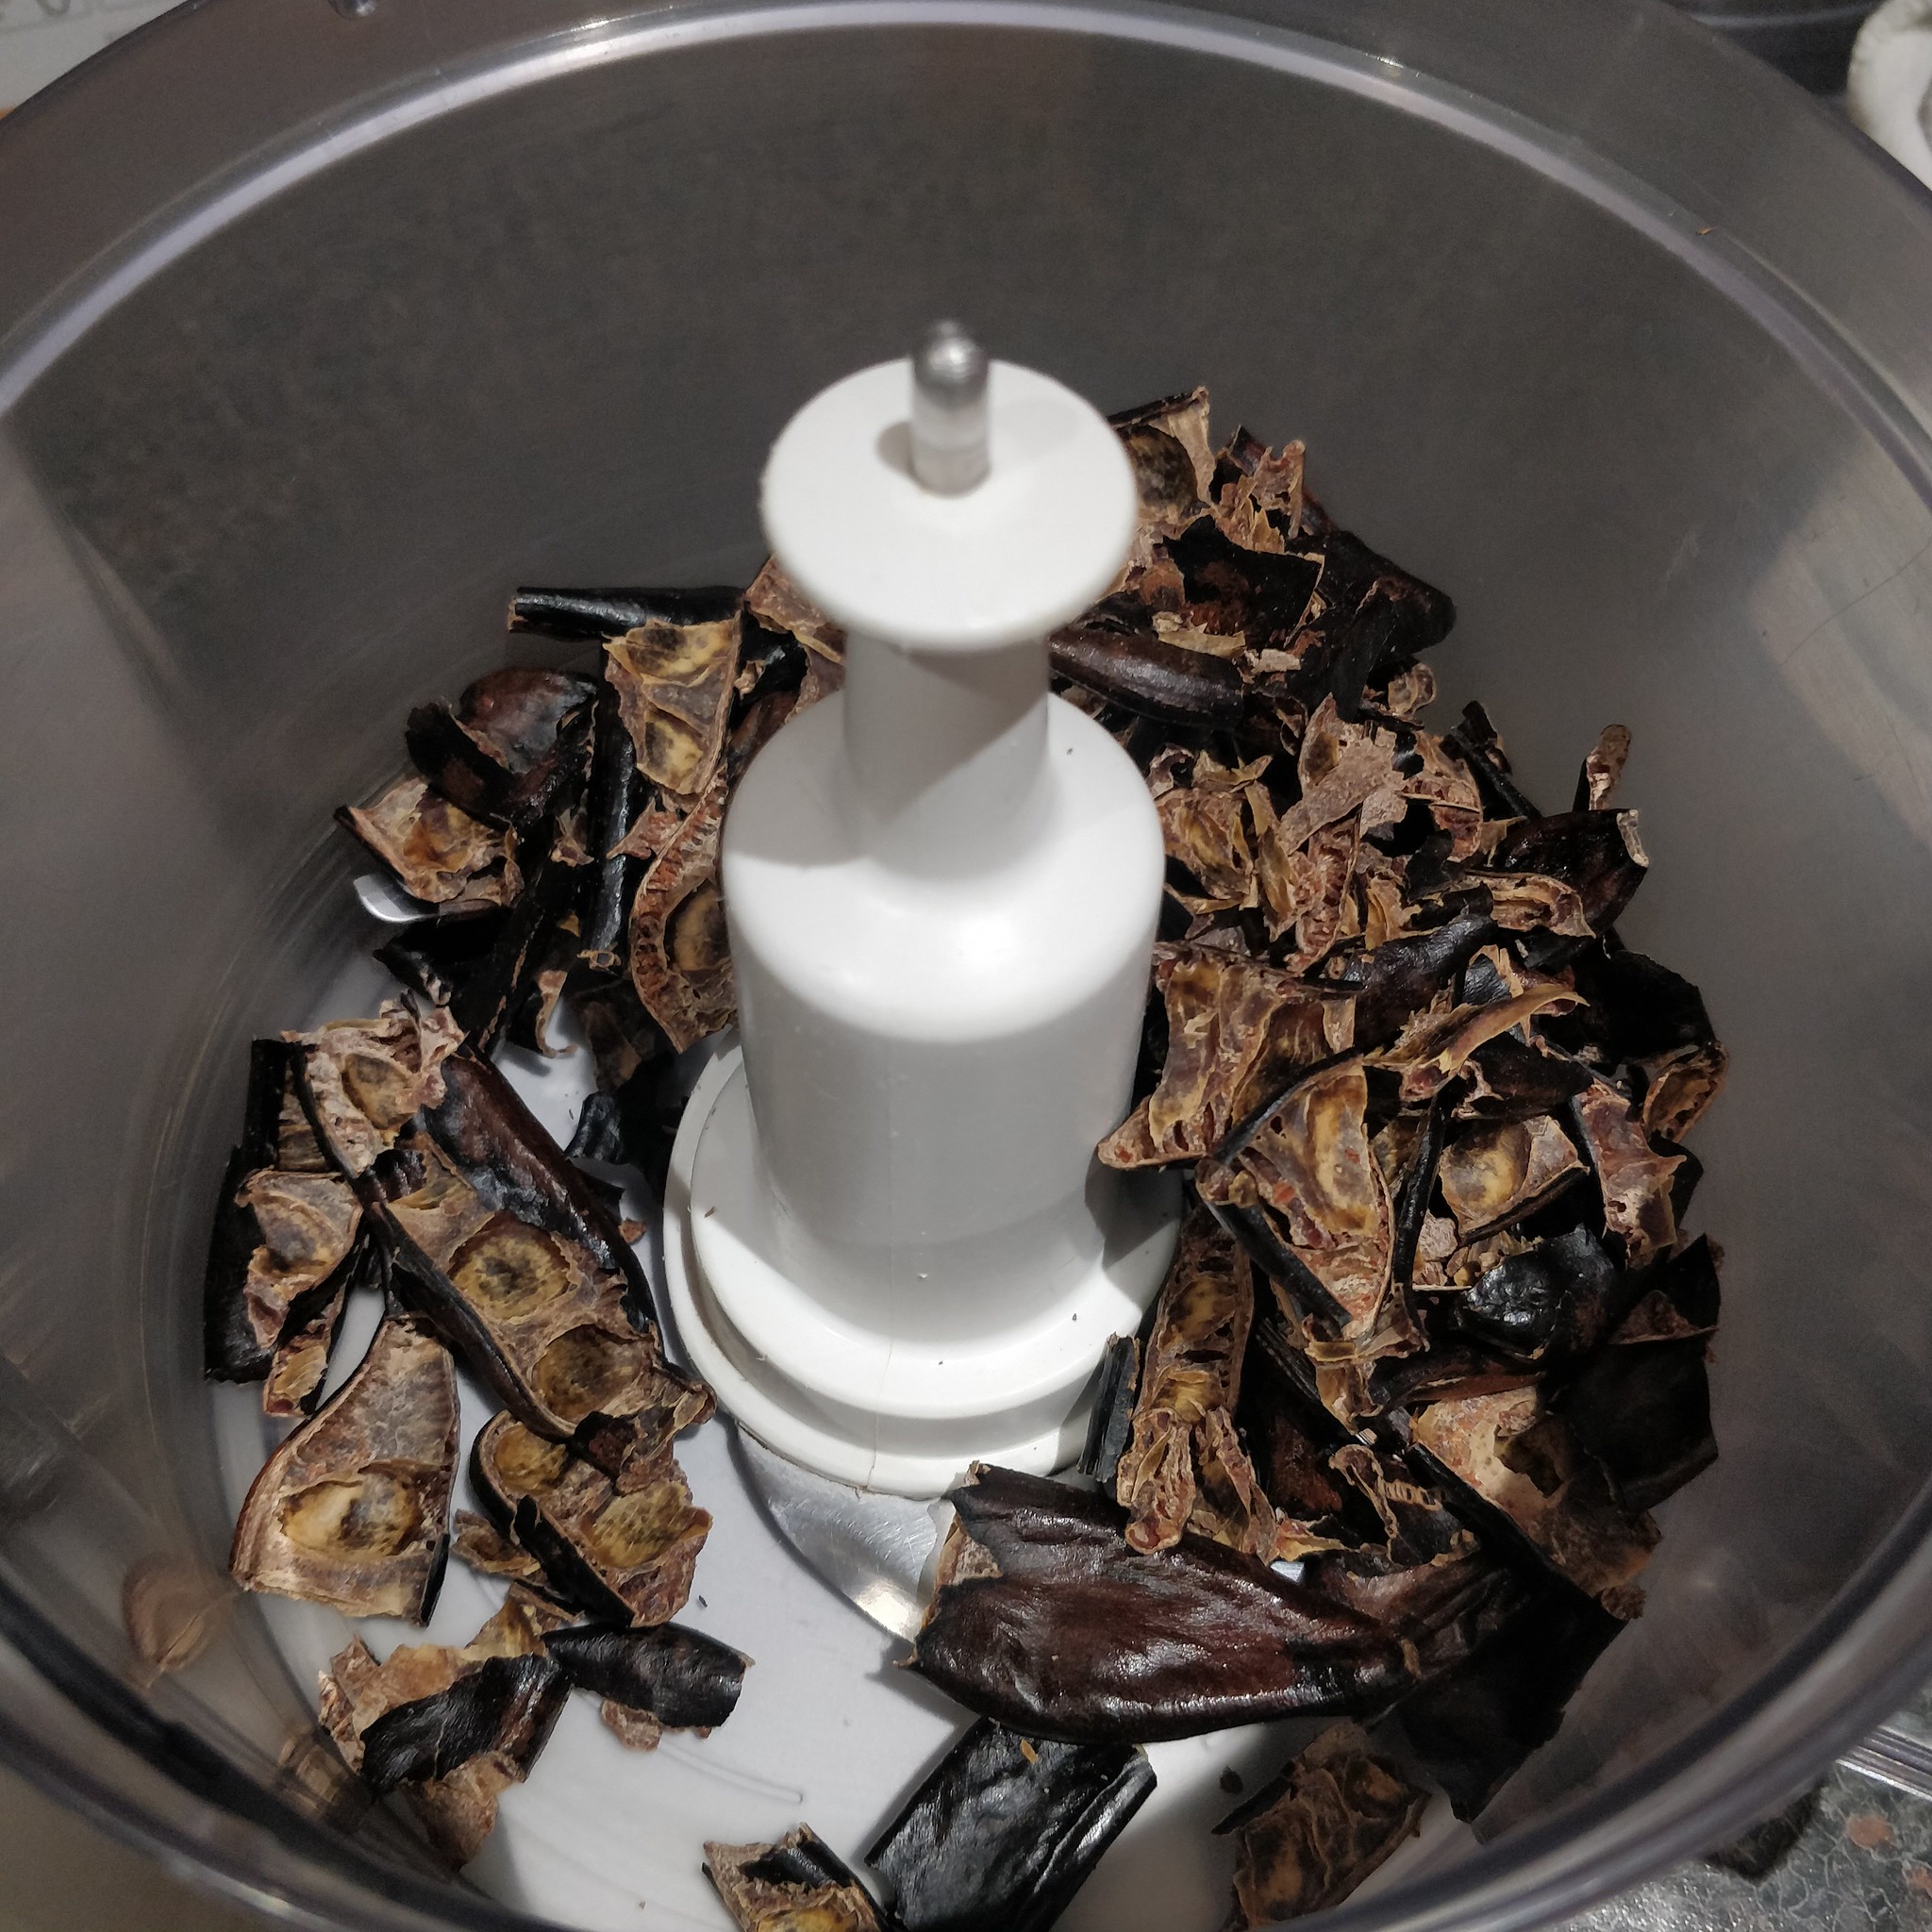
Once dry, put them into a food processor. Be patient, it’s going to take some time.


After grinding, try to sieve them. Depending on how powerful your food processor is you might need to keep grinding!
Also, depending on how dry the grinds are you might need to dry them out more.
(The drier the grinds the finer the powder you can get.)
I had to dry them out more.

I needed to dry the grinds out for a few more hours. I put them back into the oven at 50 deg C for 3 more hours.
I spread them out on a piece of tinfoil to make it easier to pour them later.


Carob powder can be stored for up to 1 year in an airtight container, in a dark area. Carob powder doesn’t go off, but it will loose it’s taste.